
 English
 русский
 Español

Floor slotting line (double end tenoner)
The product can slot the floor vertically and horizontally. The machine series c...
See DetailsAt a flooring plant that runs 500 panels per shift, the difference between a single-blade saw and a three-blade saw is not just cutting speed. It is the number of times an operator has to touch a panel. A 3 rip saw machine takes one 1,220 mm board, passes it through three parallel saw blades, and returns three strips that are ready for the next machining step. This makes it the most practical starting point for manufacturers who need consistent rip width without paying the full price of a high-output multi-rip system.
The key is balance. A three-blade setup gives you the strip flexibility that a two-blade machine cannot, while avoiding the power demand and spacing complexity that come with five or more blades. If your panel widths vary from day to day, a 3 rip saw is usually the configuration that keeps both changeover time and blade cost under control.
Content
A 3 rip saw is a multi-rip saw with three blades spaced to match the finished strip width. The blades sit on a common spindle, and laminated steel or alloy spacers set the gap between them. When the board is fed through, the outer blades trim the edges and the center blade cuts the middle strip. In a single pass, you get three strips instead of one. The outer edge trimmings drop away, and the three strips move forward to the slotting or beveling line.
This design matters for flooring plants because downstream machines expect a tight width tolerance. If the rip saw cuts a strip 3 mm too wide, the double-end tenoner has to remove more material, which increases tool wear and raises the risk of chip-out on laminate and SPC. A 3 rip saw with accurate spacing collars and a rigid spindle reduces that risk.
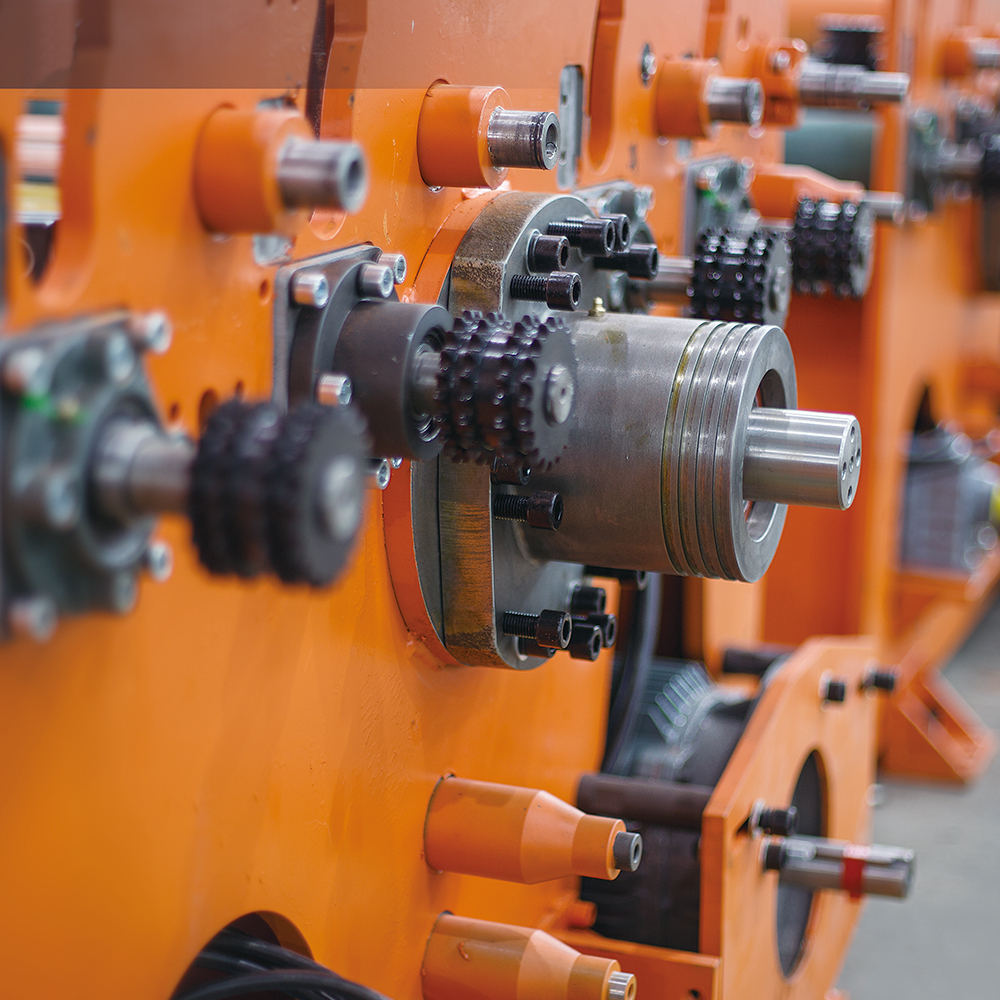 Multi-Blade Rip Saw for Flooring and Wall PanelsThis rip saw handles SPC, WPC, laminate, and other boards with a feed rate up to 32 m/min and a 1300 mm working width, using upper and lower roller drives to maintain surface integrity and precise width tolerance.View Product →
The machine’s core components are a feed conveyor or roller table, a pressure roller system, and a saw housing with an adjustable spindle. Material moves into the saw housing under controlled pressure, passes through the three blades, and exits on the outfeed table. Some machines use a top roller drive, which pulls the board through and keeps it flat; others use a bottom feed chain. For flooring materials like SPC and WPC, a roller drive with rubber or urethane rollers is often preferred because it protects the surface from marks while maintaining grip.
In a typical production flow, the 3 rip saw comes before the double-end tenoner, then the beveling and V-groove painting stations. For plants running both laminate and SPC, the ability to change blade spacers quickly becomes as important as saw power. A well-designed 3 rip saw lets you move from an 80 mm strip to a 100 mm strip in minutes, not hours.
To make the decision easier, compare a 3 rip saw machine against single and multi-blade configurations using typical production targets. The numbers below assume 12 mm thick flooring board and a feed speed of 8 m/min.
| Configuration | Strips per pass | Typical width tolerance | Best fit |
|---|---|---|---|
| Single-blade saw | 1 | ±1.5 mm | Low-volume work, wide strips |
| 3 rip saw | 3 | ±0.4 mm | Mid-volume flooring, flexible widths |
| 5-blade rip saw | 5 | ±0.4 mm | High-volume fixed-width runs |
These tolerances are not guarantees; they depend on blade sharpness, spindle runout, and feed uniformity. But the principle is consistent: a machine with fewer blades is easier to align and less likely to suffer from thermal expansion differences across the stack.
Three factors dominate the quality of the ripped edge: the accuracy of the blade spacing collars, the runout of the spindle, and the pressure profile of the feed rollers. If any of these is off, the strips will not be consistent, and the downstream slotting line will produce mismatched tongue and groove joints.
Spacing collars are ground to exact widths. Even a 0.05 mm difference between collars can create a visible width difference between strips. For flooring, where the slotting machine depends on a fixed material width, this difference quickly becomes a reject or a misaligned joint.
The spindle must spin without measurable wobble. Once runout exceeds the saw blade's side clearance, the cut becomes ragged, and chip-out appears on the laminated surface. Regular runout checks using a dial indicator should be part of your maintenance schedule.
Too little pressure lets the board deflect; too much pressure can mark a soft SPC or WPC surface. The goal is a consistent grip that keeps the board square to the blades. For thick multilayer wood, you may need more pressure than for a thin PVC board. That is why a 3 rip saw with adjustable roller pressure is safer for a plant that runs mixed materials.
Your cutting parameters should be matched to the material you process most often. SPC and WPC are dense and abrasive, which means blades with more teeth and a lower feed speed. Laminate boards are less abrasive but have a hard melamine surface that can chip. Multilayer wood requires sharp, aggressive blades and adequate dust extraction.
When you specify a 3 rip saw, ask the supplier about the maximum depth of cut, the minimum strip width, and whether the machine can handle different blade diameters. For a floor plant that processes 12 mm SPC and 15 mm multilayer wood on different days, you need a saw that can take a 300 mm blade on one shift and a 320 mm blade on the next without major mechanical changes.
Daily maintenance on a 3 rip saw takes about 15 minutes. You should clean the feed rollers, check the blade spacing collars for accumulated dust, and verify that the split saw or quick-release spindle is secure. Weekly, inspect the saw blades for tooth damage and replace any blade that has lost more than 10% of its original diameter due to sharpening. Monthly, measure spindle runout and check the alignment of the outfeed table.
When blade edges dull, the saw will start to produce wider cuts and more surface tear-out. If you see burn marks on the cut edge, the feed speed is too low or the blade is insufficiently sharp. If you see chipping at the bottom of the cut, the blade exit side may be misadjusted. These are signs that the 3 rip saw needs attention before it creates a full shift of reject parts.
For a deeper look at cutting accuracy improvements, read how to improve cutting accuracy on a 3-rip saw.
In the end, a 3 rip saw machine is a deliberate choice for flooring and wall panel producers who need repeatable strip width without the complexity of a five-blade unit. It gives you three strips per pass, a manageable blade count, and enough flexibility to move between common material widths. Pair it with a disciplined maintenance routine and it will keep your downstream slotting, beveling, and painting lines running on schedule.

The product can slot the floor vertically and horizontally. The machine series c...
See Details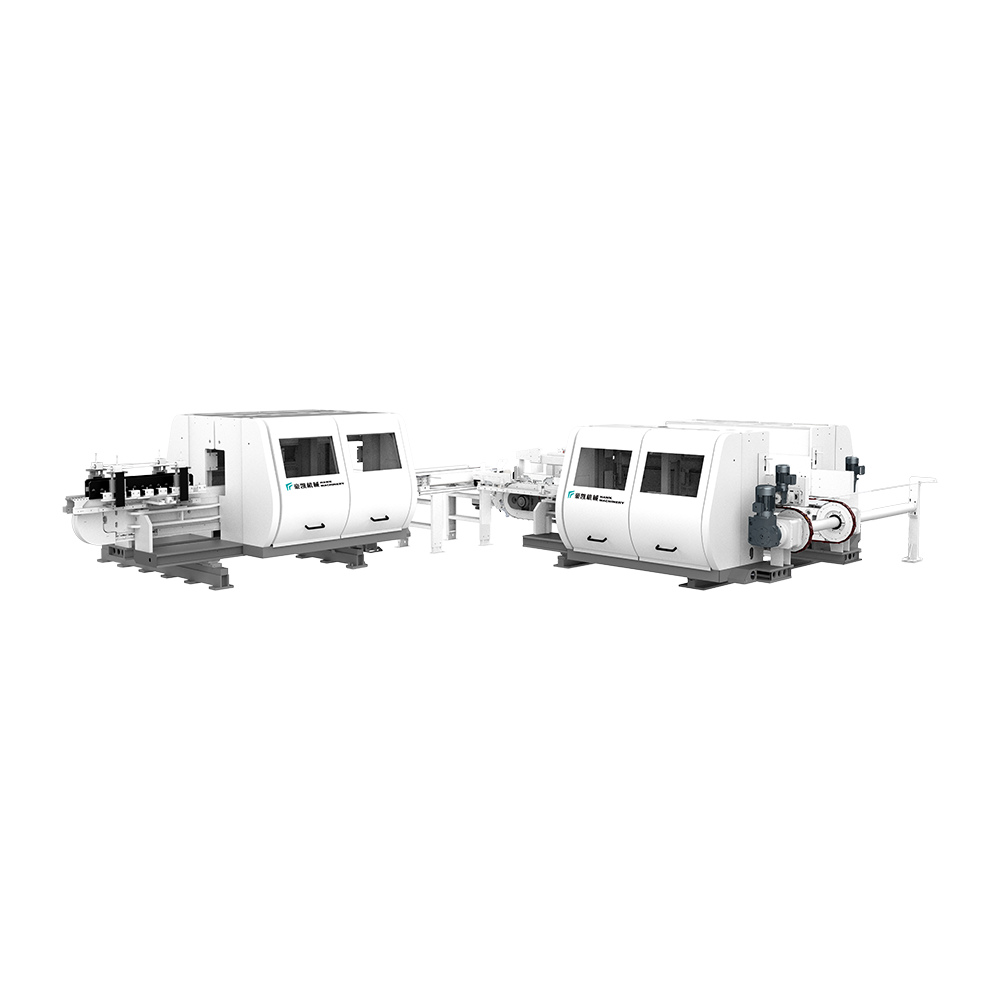
This equipment is suitable for trimming and chamfering LVT flooring. Equipped wi...
See Details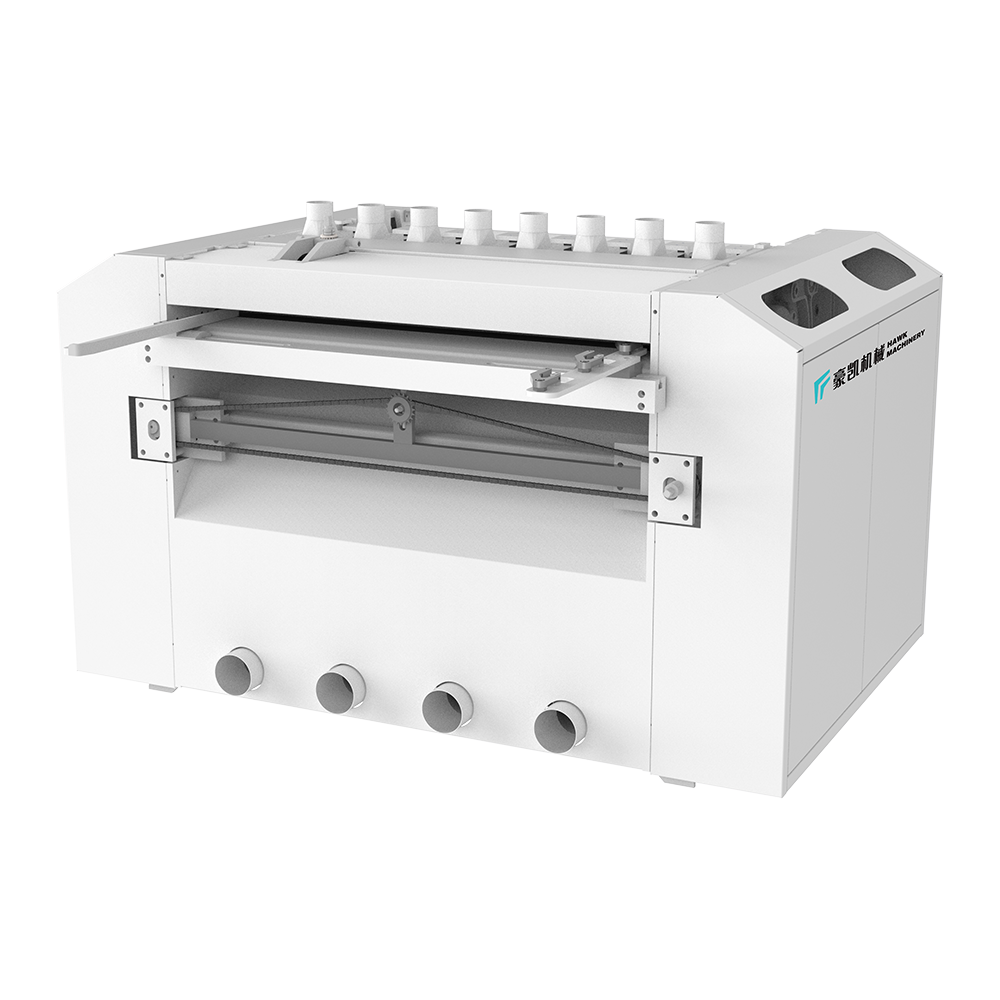
Different transmission sawing methods are suitable for different board processin...
See Details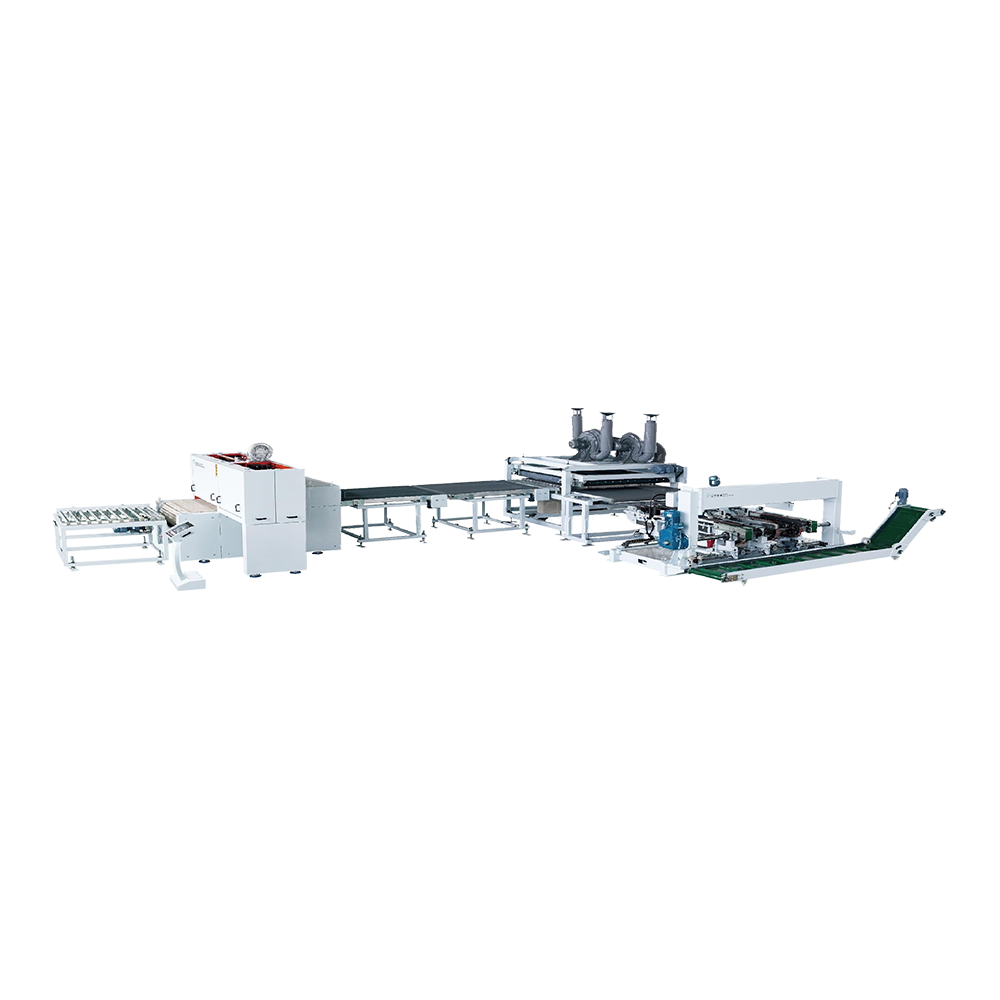
The feed speed of this equipment can reach 40 meters per minute, the whole frame...
See Details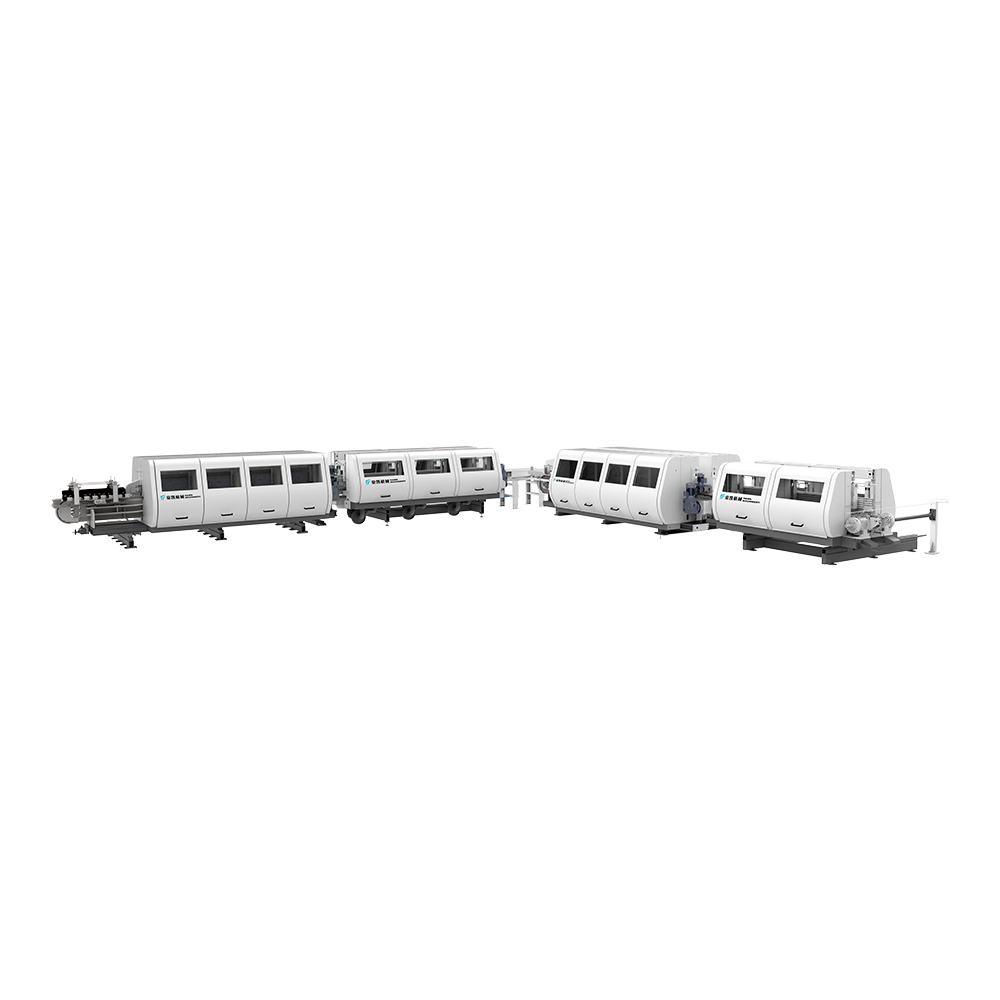
Suitable for edge coating of laminated, PVC, and WPC. Using water-based paint is...
See Details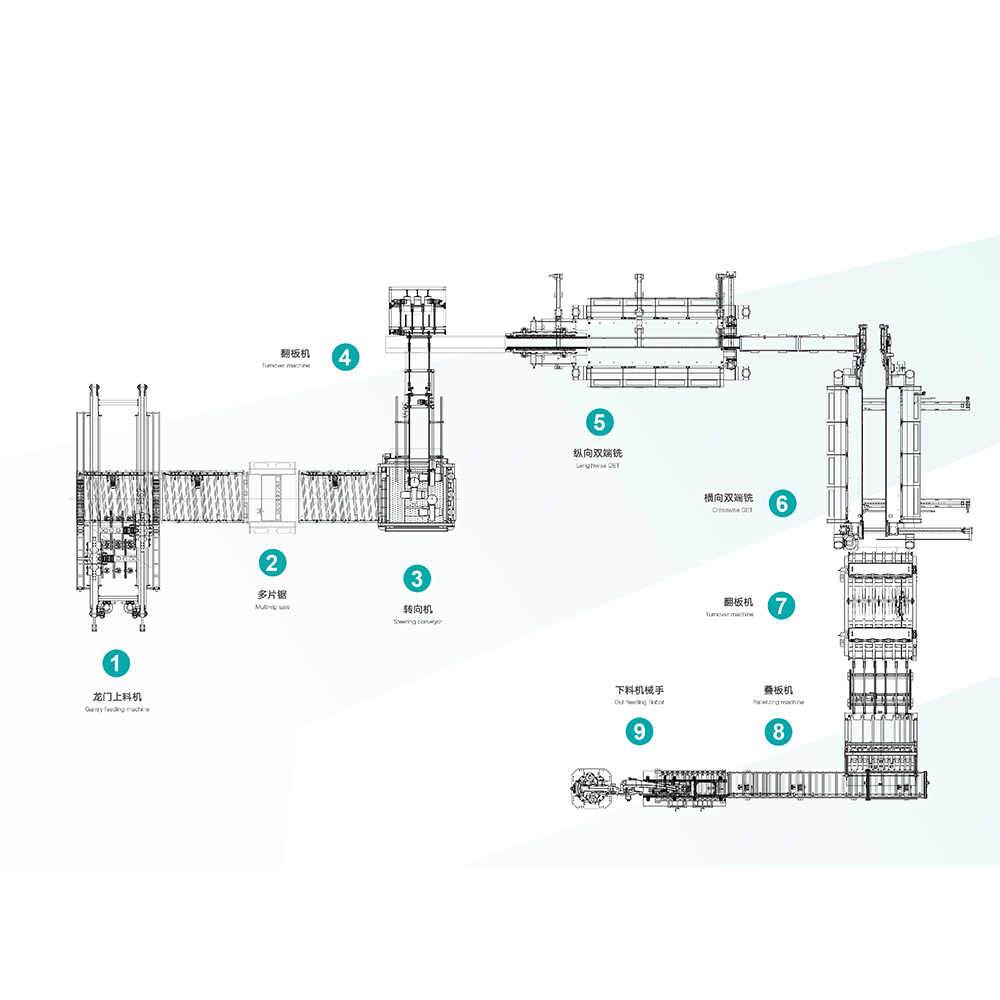
Hawk Machinery automatic feeding, cutting & slotting line, suitable for SPC,...
See Details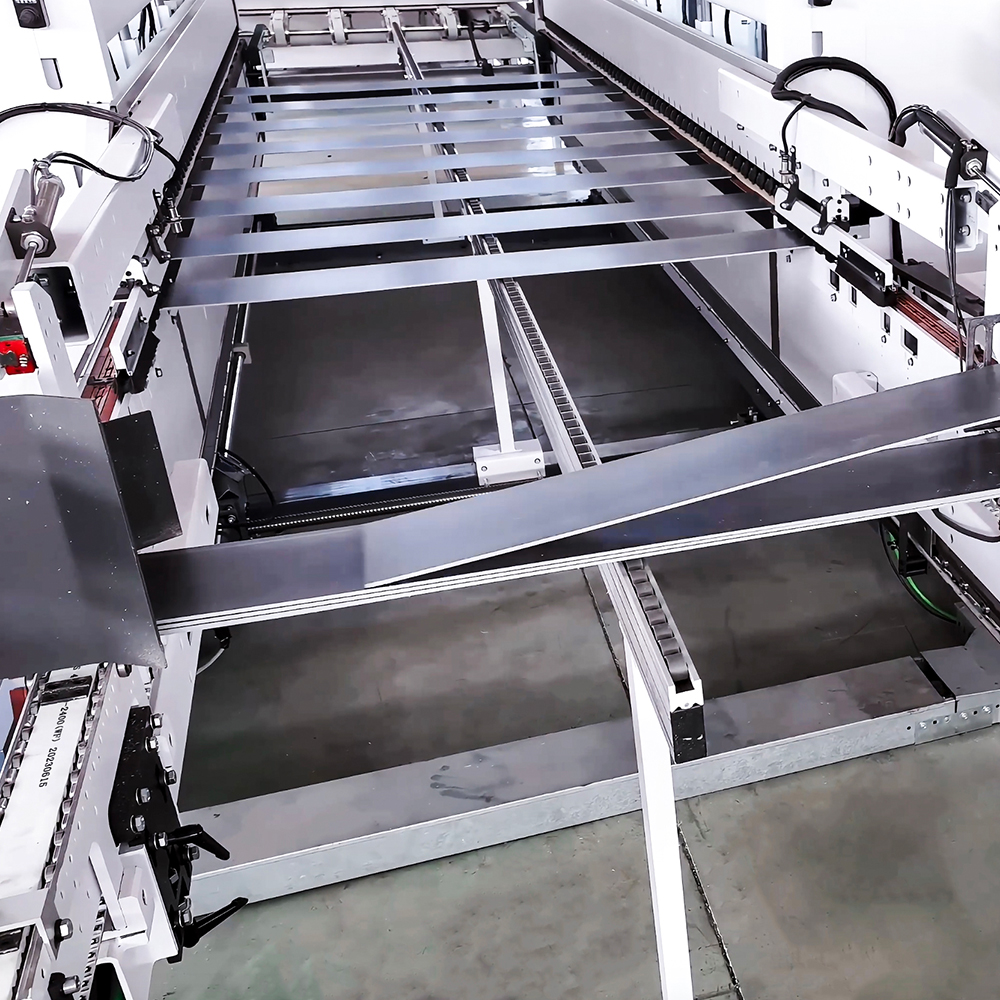
Integrated intelligent equipment integrates industrial intelligent Internet of g...
See Details
Contact info.
Boyi development area, changzhou city, jiangsu province, P. R. China
+86-0519-83319988
Don't hesitate to contact when you need us!
 Custom Floor Extrusion Machine Manufacturers